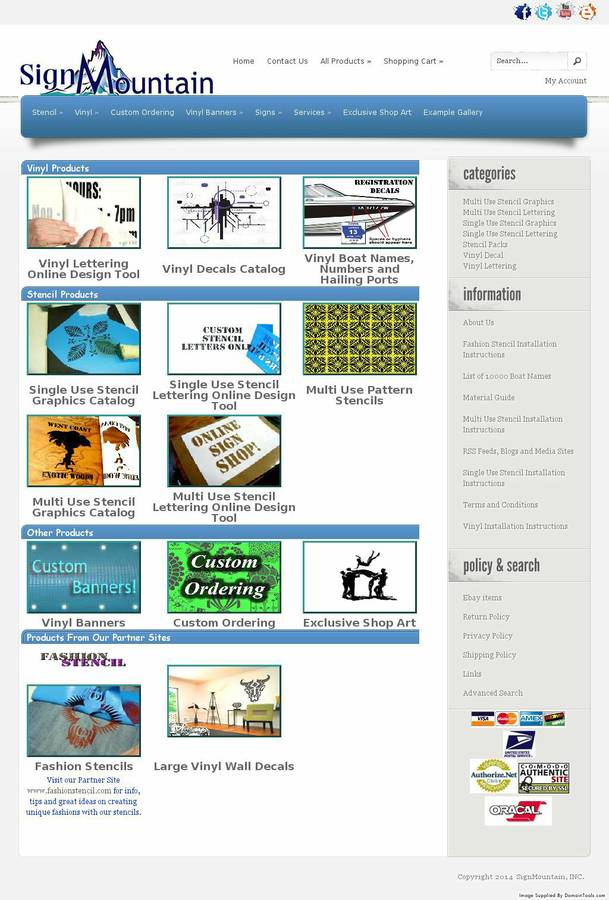
|
Vinyl Application Instructions
|
|
|
Tools Needed
|
|
|
|
Start With |
A clean, dry,
lint-free surface.
Surface can be cleaned
with our application fluid or a mixture of 2
parts water and 1 part rubbing alcohol.
Air and surface
temperature of at least 55 degrees Fahrenheit.
The higher the temperature the faster the vinyl
will dry.
|
|
|
|
Step 1
All vinyl lettering is
evenly cut with a 1in. surrounding border, making it
easier to position accurately. Begin by taping the
vinyl lettering to the surface and repositioning it until it
is in the desired area.
If working with large, lengthy vinyl lettering; cut into manageable sections, about
an arms length or smaller, which ever is more
comfortable.
|
|
|
|
Step 2
Take a pencil and make
a small trace of the corners and middle section; top
and bottom. Remove the holding tape and lettering.
Then, lightly spray
surface with application fluid.
You
can also use water instead of application fluid. We
recommend using application fluid; it helps
eliminate bubbles and wrinkles making installation
even smoother. |
|
|
|
Step 3
Now, peel off the left
4in of the white backing, making sure the lettering
stays on the clear application tape.
Line the left two
corners of the clear application tape to your
markings and working left to right using the side of
your fist or a squeegee, in long strokes, press
vinyl to surface.
Make sure there are no major bubbles or wrinkles as
you are unpeeling the white backing. While the
surface is wet you can still slide the lettering in
place.
|
|
|
|
Step 4
Let the application
fluid dry a little, about a couple of minutes, with
the application tape still attached, squeegee the
vinyl a second time. Carefully peel the application
tape off.
If the
vinyl is peeling up along with the application tape,
press back down and let area dry a little longer. |
|
|
|
The Finale
Stand back and congratulate yourself! Your work is
complete.
If you
notice little bubbles throughout the vinyl, not to
worry; it is very common for vinyl to have some
small bubbles, they will dissipate after the
application fluid has evaporated and the vinyl has
had a chance to breathe.
If you notice any big bubbles; carefully heat the
vinyl up, puncture the bubble with a needle and
apply pressure to the area with your thumb. |
|
|

Application Kit
Visit Toolbox |